


"Chalk it up board"or Cupboard chalk board

Bad lighting makes it look a different color. Whoops! The color is what you see in the top pic. But I really do {heart} mod podge;)

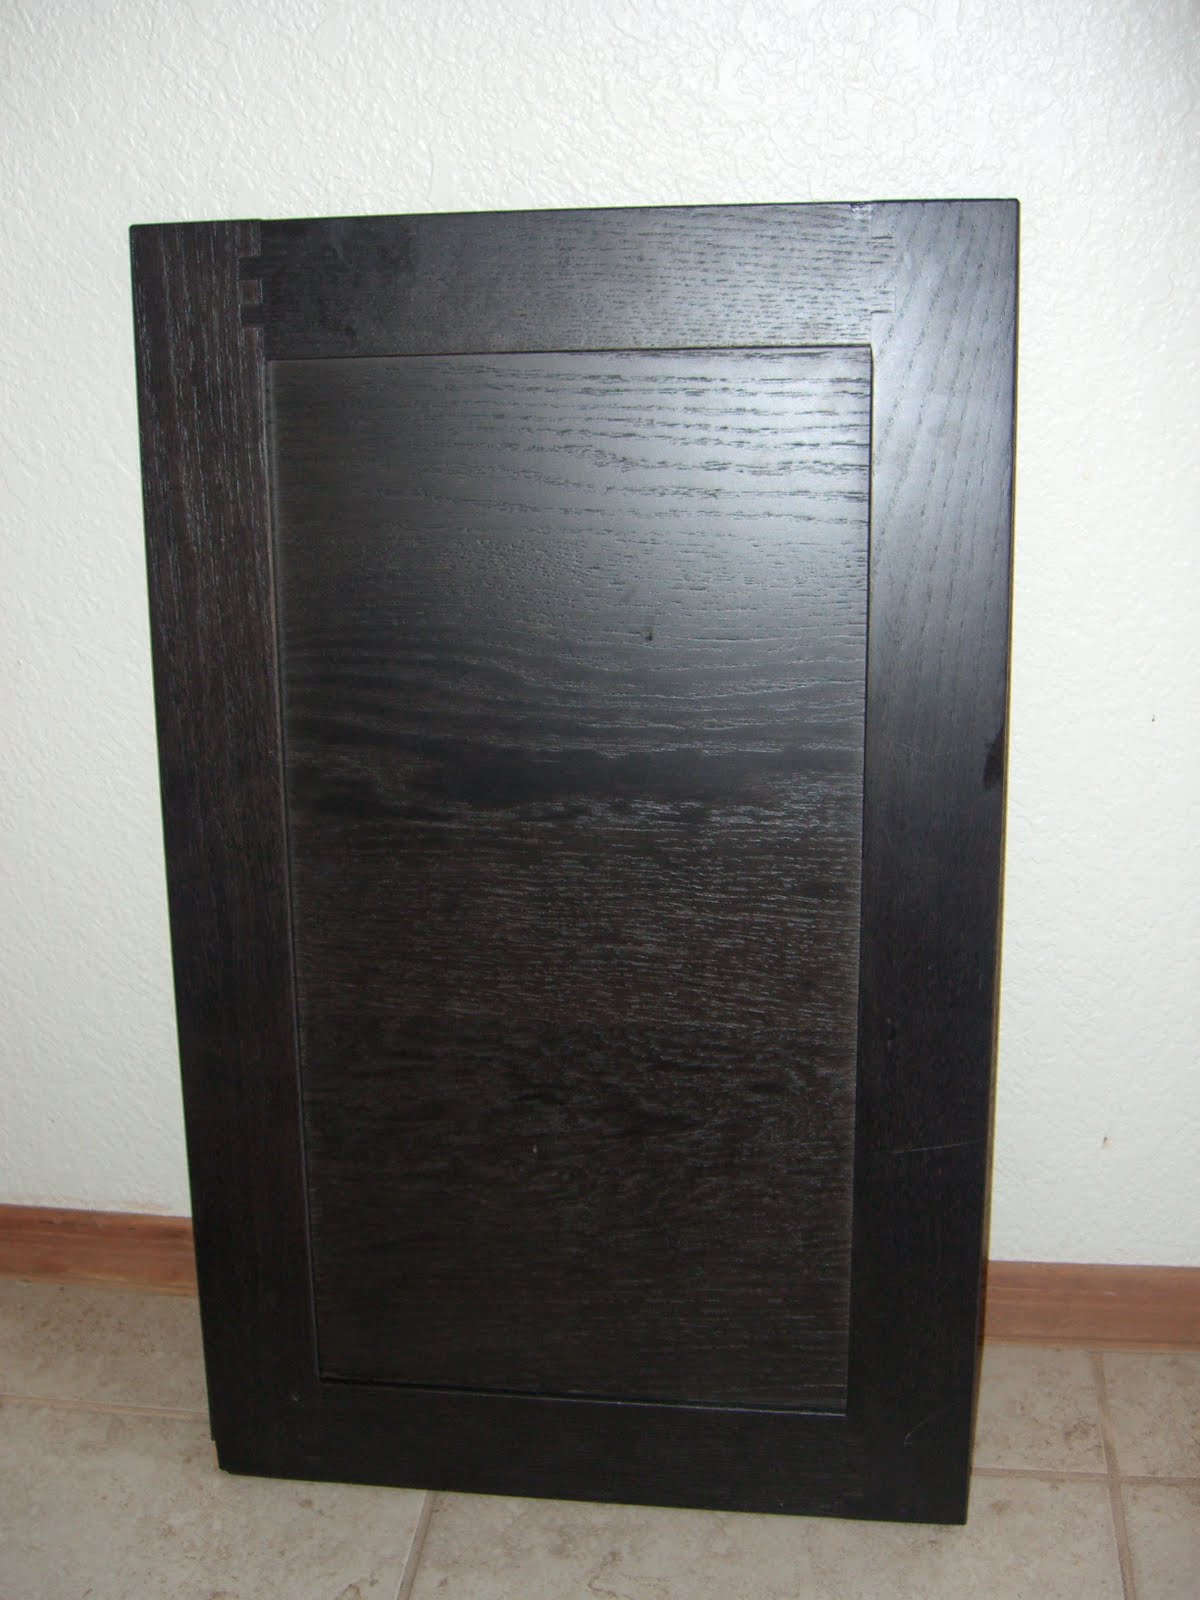
I started with a cupboard door I found on clearance at Ikea for $3.99 Another idea is Freecycle.org People are ALWAYS remodeling and offering cupboards.
I got this antique door knob HERE from Hobby Lobby for $4. It was 50% in-store. BUT the color wasn't right. I spray painted it and changed the knob because I have been seeing those clear knobs EVERYWHERE and thought it would be perfect for this project.

I also picked up 3 of these cut little hooks at Home Depot for $2.98 each.

I already had paint in this fierce color.

Now, the easy part. I sanded it a little bit just enough for the paint to stick. I added a little shelf with some recycled wood that we had laying around the garage.

For the shelf, I put a piece of molding on the edge to make a lip to hold the chalk and eraser in place. Also to catch any chalk dust.


I glued and nailed it to the cupboard door.

I painted it all green. Then sanded it lightly so the dark brown would show through.

Then I watered down some dark brown paint and used it like a glaze. Can you see it in the picture?

I found this little embellishments at Hobby Lobby as well. I just used wood glue and glued them on.


I painted chalkboard paint in the middle.

After waiting
I made this little bag to hand the eraser and chalk from one of the hooks.

It's really easy to make:) cut out a strip that is 7 1/2 X 20

Make a small button hole that is 1 1/2 inch down from edge.

For the ruffle, cut a piece that is 3 1/2 X 17. Zig zag the raw edges

gather both sides by increasing the tension as high as it will go on your machine. Use a basting stitch.

Measure where you want to place it on the bag. I put mine at 2 3/4 inch down. Sew both sides down.

With RST fold the bag in half and sew up the sides.

Create the casing for your rope by folding over 1/2 and press then 1 inch and press. Stitch completely closed.

Using the holes we created thread your rope through

Tie the ends together and fill the bag with chalk and an eraser.

No comments:
Post a Comment