


Fray check the ends of the ribbon (just use a match and run the ends of ribbon in flame). On the inside of head band, glue the end of ribbon down.

Start twisting ribbon around the head band. Every 3 or 4 twists, add a little drop of hot glue to the inside of head band. Continue until headband is cover.


I like to make mine interchangeable. So, cut a strip of ribbon about 1 1/2 inches long. Fray check the ends. Glue end down.

Then wrap around the head band once and glue again. Wrap around again, but leave a little loop at top so a clip can fit through. Glue the end down.

To make a rose clip, tie a knot at the end of ribbon.

Glue leftover end down.

Start circleing ribbon around the knot. Glue it down as you go.

I do a little pleat as I go. Here is the backside of the rose.

Continue until rose is the size you want.

Glue an alligator clip on the back and you are good to go.

You can wear it,

Your 2 year old can wear it with her Christmas dress. Note: she is not wearing her Christmas dress in the picture:)
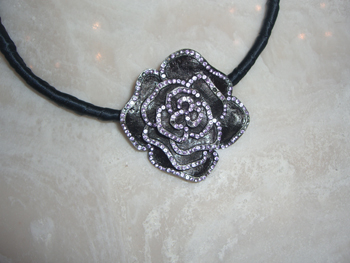
Or you can add your own vintage broach (I could not take a picture of my head with this broach so you get this view). It's the beauty of the interchangeable headband!
Tomorrow I have a special treat and tutorial for more hair accessories. Just in time for the Holidays:)
3 comments:
I have been looking for an easy to follow ribbon rose tutorial, this is beautiful and so helpful! Thanks!
Thanks for this great tutorial. I found you on A Thrifty Mom. I'm wondering where might be a good place to get plain headbands?
Thanks
Thanks for your reply. Sorry about the lack of email, I thought you'd just reply here in your blog comments. I'll check out dollar stores and definitely show the finished product when we're done.
Thanks again.
Post a Comment