My inspiration for this came from the placemat bags that were popular a few years ago. I had a hard time finding placemates I liked for my girls. If I found one then I had hated using ribbon for the strap it was to flimsy. So here's what I came up with.

Fun fabrics I used.
I would make these and sale them. I heard all the time how cheap the bags were at Walmart or other stores and I couldn't make mine that cheap. I needed to basically get the fabric for free to compare. I didn't want to donate my time for free.
**All seams are sewn with 1/4 inch seam(right along the edge of the pressure foot) unless I state other wise.
Step 1 - Cut your fabric.
Pocket - 2 pieces cut to 5 1/2 x 7 inches.
Strap - 2 pieces cut to 36 x 2 inches.
*** make the pocket and strap fabrics the same
Bag - 2 pieces cut 13 1/2 x 21 1/2 ***Use fabric that cordinates with the pocket and strap fabric.
Step 2 - Cut the iron on fleece. For the pocket and strap cut it the same size as the fabric. For the bag fabric I cut it an inch shorter 12 1/2 by 20 1/2. Near the end of sewing the bag the fabric gets very thick and my sewing machine has a hard time going through all the layers of fabric so this makes it smoother.
Step 3 - Iron on the fleece to all pieces
Step 4 - Pin together the straps with right sides together. Sew sides together(or the long sides) leaving both ends open(short ends)
Step 5 - Turn the strap inside out. Put a pin in one end and push through the center and slowly work it down.
Step 6 - Iron the strap
Step 7 - Next sew a decorative stitch on the strap. Put the edge of the fabric along the pressure foot and sew the length of the strap. Then do it to the other side. The picture below is to just show you what that top stitch should look like.
 Step 8
 -Pin the pocket pieces right sides together and sew together. Leave a gap (about 1 1/2 inch) so we can turn it inside out later. Like the photo above. Be sure and back stitch as you are sewing.
Step 9 - Clip corners on the pocket
Step 10 - Turn pocket so it's right sides out.
Step 11 - Iron the pocket. When you iron make sure the fabric at the opening is tucked in. You can make it look like there is no hole when you iron it.
Step 12 - Time to pin the pocket onto the bag fabric. First I fold the bag fabric in half.
Next I place the pocket on the bag. I just eyeball it. Go ahead and measure so it's even but remember the flower you put on later could help hide errors. You want the opening for the pocket to match the top of the bag. So the bottom of the pocket should be where the fold of the bag fabric is. Am I making any sense. Not sure how to explain this. Hopefully you already knew this. **** Make sure the opening you used to turn the pocket inside out gets sewn over. DO NOT make it the top of the pocket. If you do you could just hand stitch the opening closed.
Step 13 - Sew the sides and bottom of the pocket. I sew this stitch smaller then 1/4 inch. Can you see above how the edge of the fabric is on the inside mark of the pressure foot. I use that as the guide for this top stitch.
Step 14 - Pin the strap 2 inches in from the edge like the photo above.
The picture below shows how the strap is pinned at the top on one side. Then pinned on the other end of the same piece of fabric but opposite side. This makes it so the strap goes diagonally across for the girls to wear.
Step 15 - Pin the 2 pieces of fabric for the bag right sides together. You want to pin these together because the strap in the middle can cause them to pull and buldge funny while sewing. Sew all 4 sides around the bag. Leaving an opening ON THE SIDE to turn the bag right side out.
Note that I back stitched near the opening.
Step 16 - Iron the bag. Make sure to tuck the fabric in where the opening is so it gets ironed down nicely.
Step 17 -Sew across the top of the bag. This is just a decorative stitch that gives it a clean finished look. Make sure and do both sides. I do this like the pocket I sew it closer to the edge. I use the inside mark on the pressure foot as the guide.
Step 18 - Next match up the top of the bag, pin it, then sew up the sides being sure to back stitch.
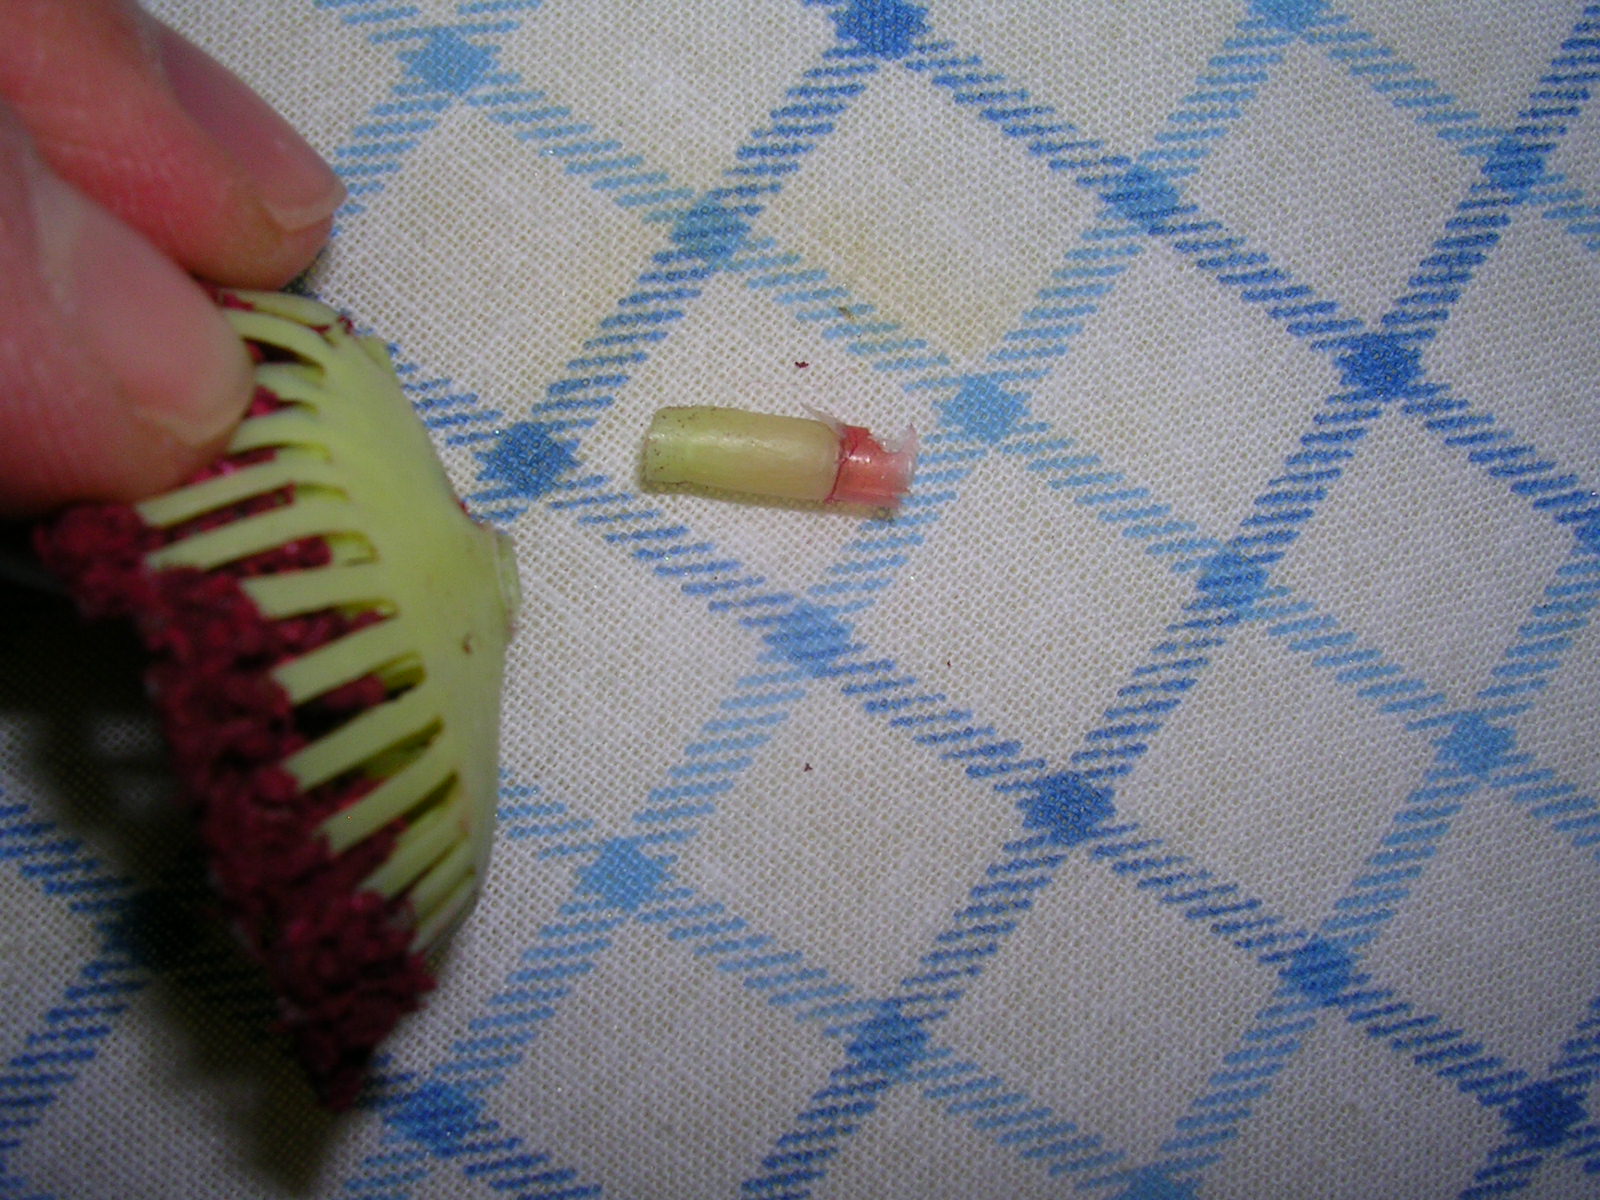
Step 19 - Embellish away now. You can take the flower apart like the pictures here and hot glue it onto the bag. That's what I did with this bag BUT it will get ruined when you wash it. You could put the flower on a pin so it's easy to remove. If you hot glued it on Hand wash the bag if you don't want to ruin the flower.


No comments:
Post a Comment