"Wild thing, you make my heart sing, you make everything, groovy." This week end we celebrated a little wild thing. My friend is expecting her 1st baby (it's a boy). She's due in June. YEAH! So, let me take you on a tour of baby shower.
The theme was jungle/wild thing. So, Megan pulled through on decor. She made leaves, had balloons, used streamers to create vines, and I think it turned out perfect! When you first walk into the door this is what you see. My husband will NOT be playing the Wii when the party starts:) Notice the stand with the frame on it? Yep, I am reusing the sign from
THIS baby shower.
We jazzed it up a big with some green confetti.
Balloons, leaves, streamers, can it get any better for a jungle!?! I think not.
I LOVE this sign Megan made. Isn't it adorable. That was a rhetorical question.
More streamers, leaves, and balloons. Tomorrow there will be food set up and the table will be filled with all supplies needed for decorating onesies!

The table was filled with supplies to decorate onesies. Paint, stenciles, fabric, heat n bond, a book full of ideas, and scissors.
I made some tissue paper flowers
Here is the delicious food.
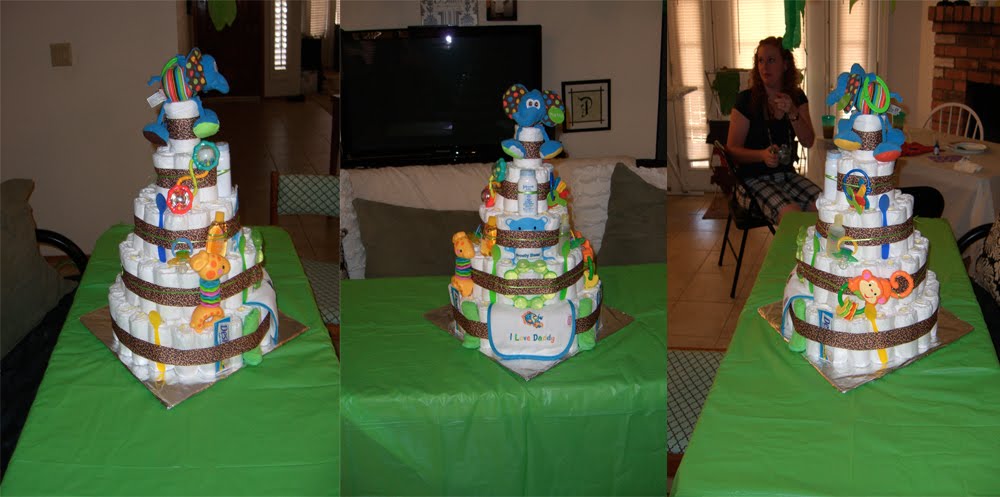
Here is the amazing diaper cake the preggy momma's friend Heather made. I wanted to show it at all angles so you could see the goods she scored on this one;)
Here are the onesies that were created. I am still working on my superman onesie. I needed to let the paint dry before I added the second layer.
Here is a close up of some that I thought were really cute. The new-parents-to-be call the baby lizard. So this lizard onesie was perfect.
Here is the bum of the lizard onesie:) Love it!
Last but not least, the gorgeous preggy momma (in the middle. She doesn't really look that pregnant in the pic)


